Ceph
PLEASE NOTE: This document applies to v1.2 version and not to the latest stable release v1.9
Minio Object Store Quickstart
Minio is a high performance distributed object storage server, designed for large-scale private cloud infrastructure. Rook provides an operator to deploy and manage Minio clusters.
Prerequisites
A Kubernetes cluster is necessary to run the Rook Minio operator.
To make sure you have a Kubernetes cluster that is ready for Rook, you can follow these instructions.
Deploy the Minio Operator
First deploy the Rook Minio operator using the following commands:
git clone --single-branch --branch release-1.2 https://github.com/rook/rook.git
cd cluster/examples/kubernetes/minio
kubectl create -f operator.yaml
You can check if the operator is up and running with:
kubectl -n rook-minio-system get pod
Create and Initialize a Distributed Minio Object Store
Now that the operator is running, we can create an instance of a distributed Minio object store by creating an instance of the objectstore.minio.rook.io resource.
Some of that resource’s values are configurable, so feel free to browse object-store.yaml and tweak the settings to your liking.
It is strongly recommended to update the values of accessKey and secretKey in object-store.yaml to a secure key pair,
as described in the Minio client quickstart guide.
When you are ready to create a Minio object store, simply run:
kubectl create -f object-store.yaml
We can verify that a Kubernetes object has been created that represents our new Minio object store with the command below. This is important because it shows that Rook has successfully extended Kubernetes to make Minio object stores a first class citizen in the Kubernetes cloud-native environment.
kubectl -n rook-minio get objectstores.minio.rook.io
To check if all the desired replicas are running, you should see the same number of entries from the following command as the replica count that was specified in object-store.yaml:
kubectl -n rook-minio get pod -l app=minio,objectstore=my-store
Accessing the Object Store
Minio comes with an embedded web based object browser. In the example, the object store we have created can be exposed external to the cluster at the Kubernetes cluster IP via a “NodePort”. We can see which port has been assigned to the service via:
kubectl -n rook-minio get service minio-my-store -o jsonpath='{.spec.ports[0].nodePort}'
If you are using Minikube, you can get your cluster IP via
minikube ip.
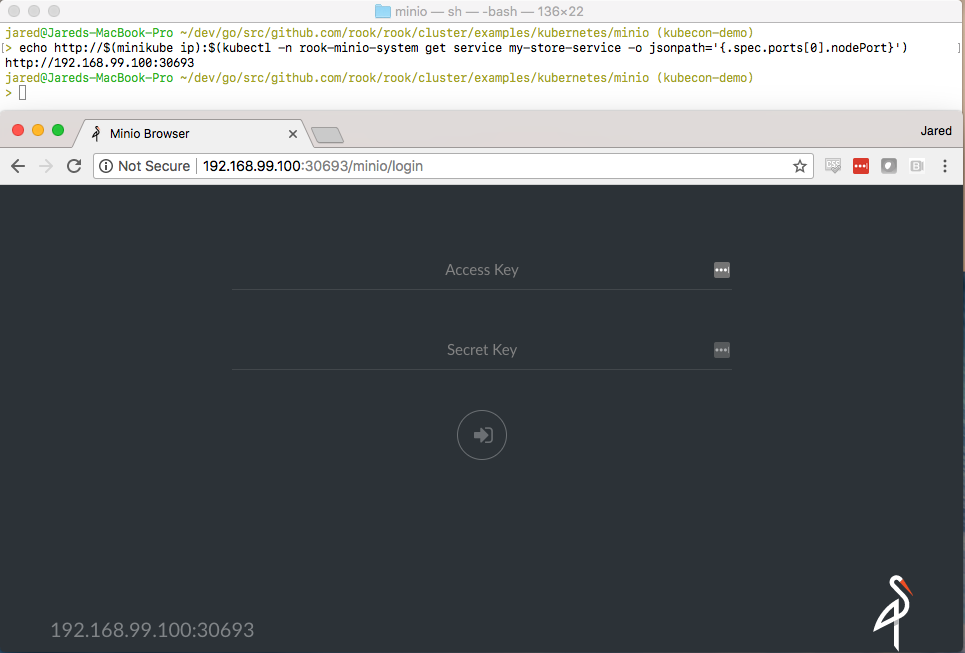
The full address of the Minio service when using Minikube can be obtained with the following:
echo http://$(minikube ip):$(kubectl -n rook-minio get service minio-my-store -o jsonpath='{.spec.ports[0].nodePort}')
Copy and paste the full address and port into an internet browser and you will be taken to the Minio web console login page, as shown in the screenshot below:
Clean up
To clean up all resources associated with this walk-through, you can run the commands below.
NOTE: This will destroy your Minio object store and delete all of its associated data.
kubectl delete -f object-store.yaml
kubectl delete -f operator.yaml
Troubleshooting
If the Minio cluster does not come up, the first step would be to examine the operator’s logs:
kubectl -n rook-minio-system logs -l app=rook-minio-operator
If everything looks OK in the operator logs, you can also look in the logs for one of the Minio instances. Assuming your object-store.yaml file named it “my-store”, each node in the cluster can be inspected via:
kubectl -n rook-minio logs my-store-0
Feel free to modify the above to inspect other instances.